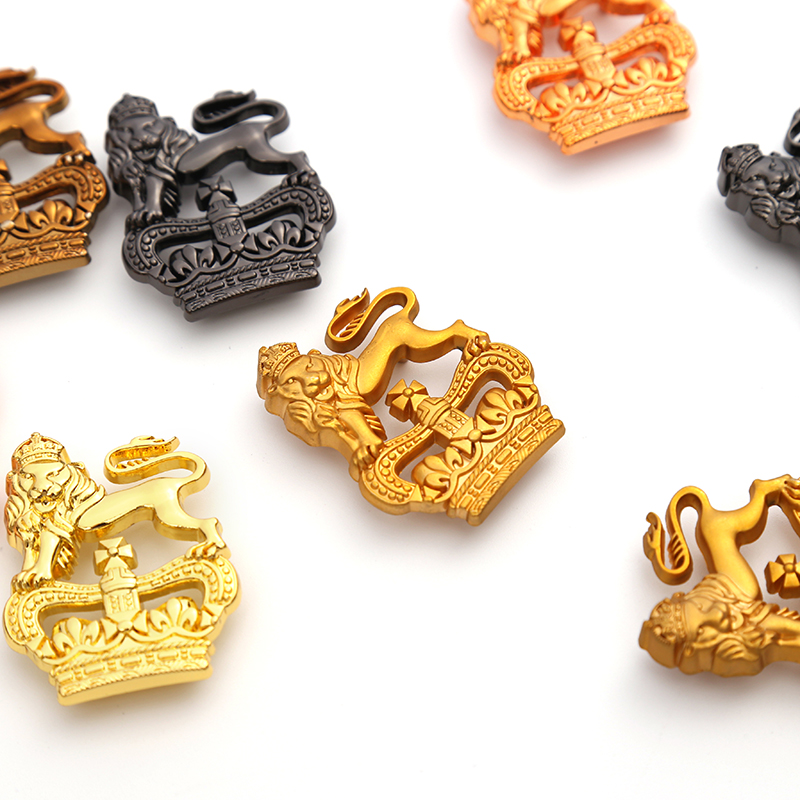
Posted on August 25, 2023
Do you have any tips for properly applying metal logo tags?
Here are some tips for properly applying metal logo tags:
Prepare the surface.
Make sure it is clean, dry, and smooth. Remove any dirt, oils, or debris.
Use the right adhesive.
Acrylic adhesives work well for smooth surfaces like metal or glass. Contact cement works for rigid surfaces like wood or plastic.
Apply the adhesive evenly.
Use a small paintbrush or adhesive applicator to cover the entire back of the logo tag.

Allow proper drying time.
Wait the recommended drying time so the adhesive develops full tackiness before positioning the logo.
Position carefully.
Gently set the logo tag in place where you want it, taking time for precise alignment.
Apply firm pressure.
Use your fingertips or a squeegee tool to press from the center out, working any air bubbles to the edges.
Re-apply pressure.
Come back after 10-15 minutes and press again for a stronger bond between surfaces.
Avoid repositioning.
Once adhered, don’t reposition the logo or try to remove it, as this may damage the adhesive bond.
Protect newly applied logos.
Avoid contact, moisture or abrasion until the adhesive fully cures, sometimes 24 hours later.
Taking time with surface prep and proper adhesion steps helps metal logos withstand the elements long-term.

